First Scan
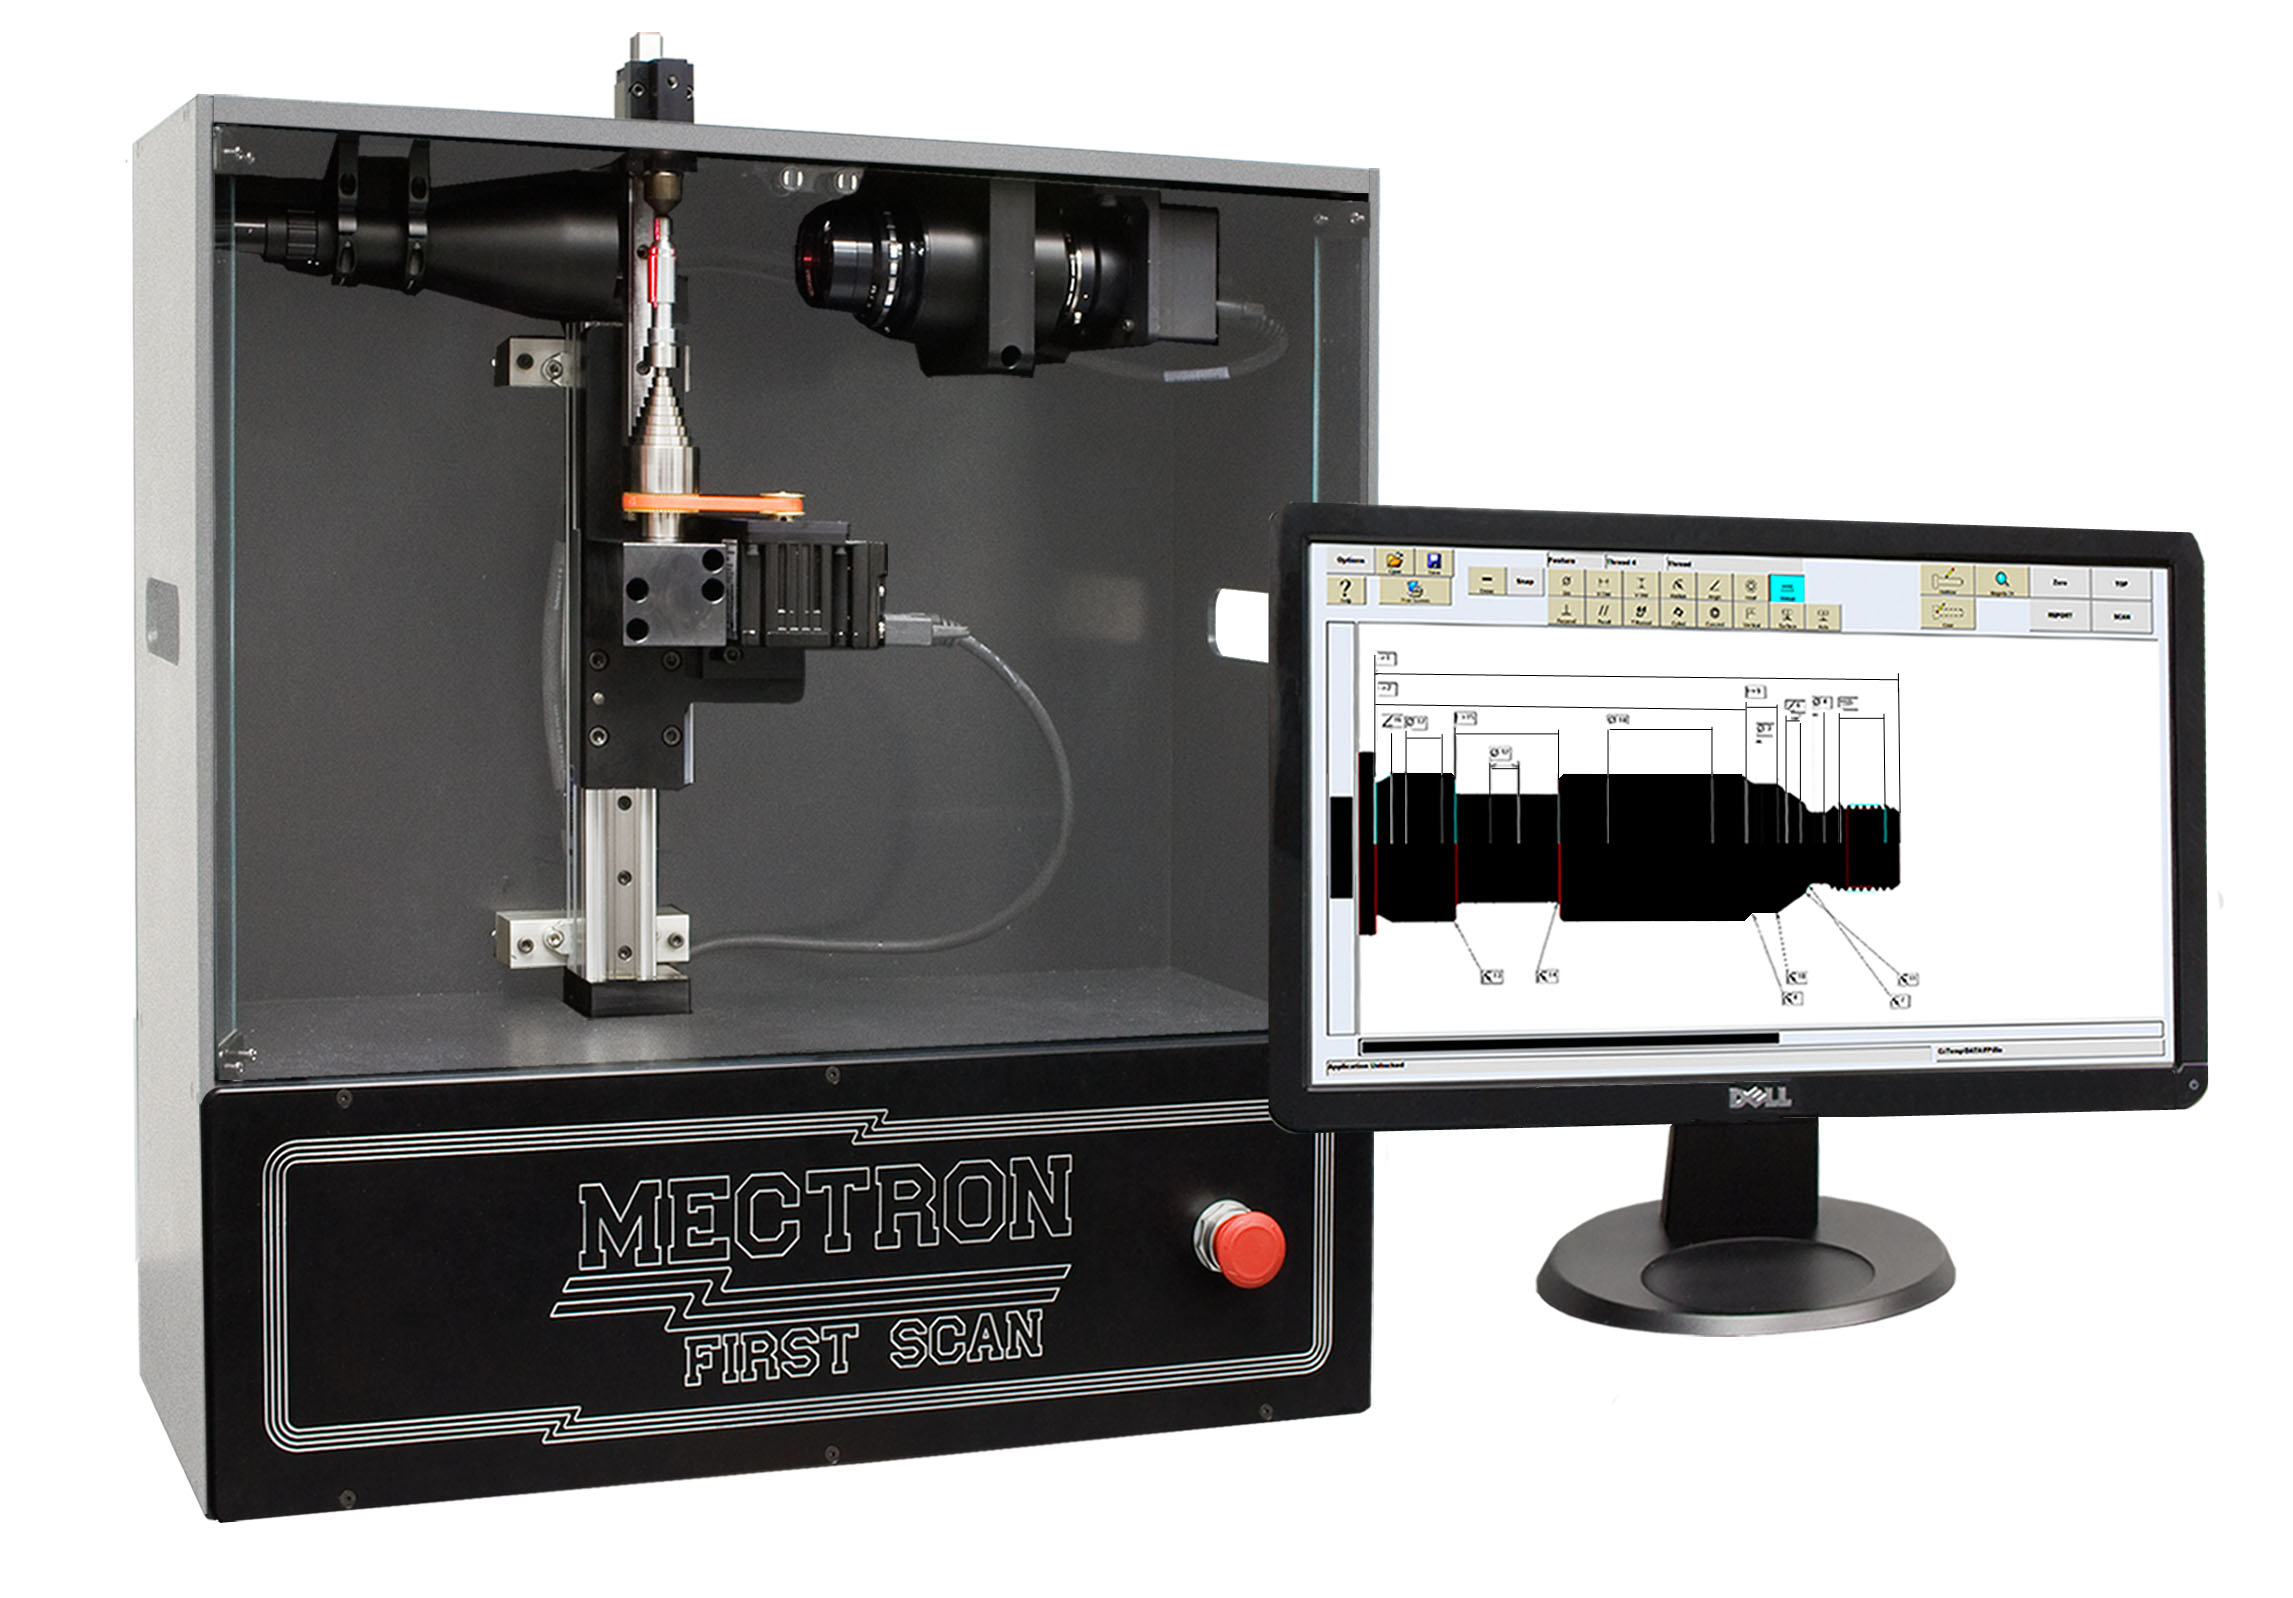
 The FIRST SCAN 150R is a non-contact fully automatic precision measuring system designed for cylindrical components. The major benefit of this technology is the ability to perform non-contact measurements with accuracy and speed and is easily networked to provide data to a variety of SPC formats.
In today’s world, First Article Inspection is performed utilizing a wide range of devices and gauges. The most common are a series of techniques that have been around for decades: the optical comparator, vision cameras, laser mics, calipers, micrometers, etc. Many of these gauges require the efforts of handwritten or manual entry into reports and spreadsheets. The accuracy depends upon the operators’ use of the gauging device in the QC lab and the machine operators that perform the measurements during the manufacturing of the components. Upon completion of the manufacturing process, parts are then shipped to the customer and their quality control department performs receiving inspection which is subject to their own interpretation of the gauges used at their facility. Many costs and disputes arise between the manufacturer and end users based on these techniques.
The First Scan 150R utilizes a telecentric backlight illuminator to produce a high contrast silhouette of the work piece to be inspected. The illuminator increases edge contrast and measurement accuracy designed specifically for gauging applications. The silhouette from the work piece passes through lenses that are computer designed for the best possible results in critical projection. The images are received by a high resolution digital line scan camera that can take measurement data from the part at rates of over 14,000 updates per second. This data is collected by 8160 sensitive pixels that can detect changes in the light pattern at sub-micron resolution. During the scanning process, a calibration cone (which is incorporated into the work piece holder) provides the basis for all measurements to be automatically provided by the machine. The First Scan 150R self-calibrates on a certified precision cone. The calibration cone can be certified once per year by an outside company like any other gauge pin or gauge block set used in a factory.
Once the part image is scanned, an unlimited number of measurement zones can be pre-set along with the corresponding dimensional specifications and control limits. Each measurement zone allows you to input minimum and maximum tolerances, control limits, and displays actual measurement output by the machine. Specific thread tolerances are provided automatically via drop-down features for all standard and metric thread sizes. The custom reporting feature provides a visual graph that indicates where the measurement falls within the pre-set tolerances and control limits.
The First Scan 150R scans the part utilizing two separate servo drives. The first scans the part on the linear axis for geometric tolerances of features like diameter, width, radii, angles, threads, etc. The second rotates and scans the part on the radial axis and inspects for concentricity, flats, hex, perpendicularity and cylindricity, providing 360 º capabilities.
The First Scan 150R is capable of inspecting parts up to 35mm in diameter and lengths up to 150mm.
Upcoming Events
October 25 - 27, 2016
National Industrial Fastener Expo
Sands Expo & Convention Center
Booth 737
Las Vegas, Nevada
